
A malfunctioning garage door sensor can be a major inconvenience. Not only does it interrupt the smooth flow of your day, but it can also pose a safety hazard. But before you call the repair person and shell out a hefty fee, take a deep breath and try some DIY troubleshooting!
And to avoid other problems take a closer look at the Best Garage Door Openers. Perhaps that way you can upgrade the state of your garage. But now, we’ll get to our topic. Here are 5 simple steps to fix your garage door sensor and keep it working like a charm:
Step 1: Diagnose the Problem
Before you tackle your garage door woes, diagnose the case! Does it suddenly reverse like a startled ghost? Refuses to close, leaving you in a half-open limbo? Or maybe its sensor light flashes like a frantic disco ball? Identifying the symptoms is key to catching the culprit.
Here’s your detective guide:
- Unexpected Reversals: If your door becomes a yo-yo mid-close, even with clear passage, misaligned sensors or a broken beam might be the ghosts in the machine.
- Stalling Door: Does your door open with glee but sulks and refuses to close? Check for pesky objects blocking the sensor beams, loose wires like tangled spaghetti, or batteries begging for retirement (if your sensors use them).
- Blinking Lights: Erratic flashes, especially rapid or multiple ones, often signal sensor trouble or communication issues with the opener. Remember the pattern – it’s like a secret code! Different blinks point to different gremlins.
- No Lights at All: If both sensors are in darkness, the power supply might be the culprit. Check for loose connections or a blown fuse, the silent villain.
Remember, the more specific you are about the symptoms, the easier it will be to identify the cause and apply the right fix.
Bonus Tip: Consult your garage door opener’s manual. It might have specific troubleshooting guides based on different fault indicators.
You may also like: Best Garage Alarm Systems
Step 2: Check the Alignment

Garage door gremlins got you down? Don’t fret, fellow homeowner! Misaligned sensors, those sneaky little imps, might be the culprits behind your door’s wonky ways. Vibrations and bumps, like playful poltergeists, can jostle them out of whack. But fear not, you can be their master!
First, summon your detective skills:
- Observe the beams: Open and close the door manually, eyes like a hawk. Do the sensor lights, like beacons in the night, shine squarely on each other, forming a solid, unbroken beam? If not, misalignment might be the gremlin’s mischief.
- Loosen the screws: Gently, like a butterfly alighting on a flower, loosen the screws on the sensor that seems off-kilter. Remember, usually only one needs adjustment.
- Channel your inner architect: Use a level, the architect’s sacred tool, to ensure both sensors stand at the same height. Symmetry is key to keeping the gremlins at bay!
- Light the way: Shine a flashlight through the sensor’s lens, like illuminating a path for the invisible infrared beam. Think of it as guiding a ghost back home.
You may also like: Best Garage Door Cables Compared
Step 3: Clean the Sensors
Dirt, dust, and cobwebs can disrupt the sensor’s ability to detect the beam. Gently clean the lenses with a soft, dry cloth. Avoid using harsh chemicals or abrasive materials that could damage the sensors.
Sometimes, the problem isn’t misalignment, but rather a layer of grime obscuring the sensors’ vision. Dirt, dust, and even cobwebs can act like tiny curtains, blocking the infrared beam from reaching its destination. But fear not, you can become a master of sensor sanitation! Here’s how:
- Gently remove any debris around the sensors with your hand or a soft brush. Think of it as clearing the stage for the grand performance of the infrared beam.
- Grab a soft, dry cloth, like the one you use for your glasses. Think microfiber or a similar non-abrasive fabric. Harsh chemicals and paper towels are like villains in this story – avoid them at all costs!
- With a gentle touch, like a feather caressing a butterfly wing, wipe the lenses of both sensors. Imagine polishing a precious gem.
- Be thorough but delicate. Don’t scrub or apply pressure, as this could scratch the lenses and permanently damage the sensors.
- Once clean, test the door again. Does it close smoothly and completely? If not, repeat the cleaning process until the sensors are sparkling clean and the beam shines through unobstructed.
Bonus Tips:
- For extra cleaning power, use a cotton swab dipped in distilled water or a mild lens cleaner (specifically designed for glasses or electronics).
- Consider using compressed air to blow away any stubborn dust particles. Just be careful not to blast the sensors directly, as the force could damage them.
- Regular cleaning is key! Make it a habit to check and clean your garage door sensors every few months, especially if you live in a dusty or cobweb-prone environment.
You may also like: Best Garage Door Insulation Kits
Step 4: Inspect the Wiring
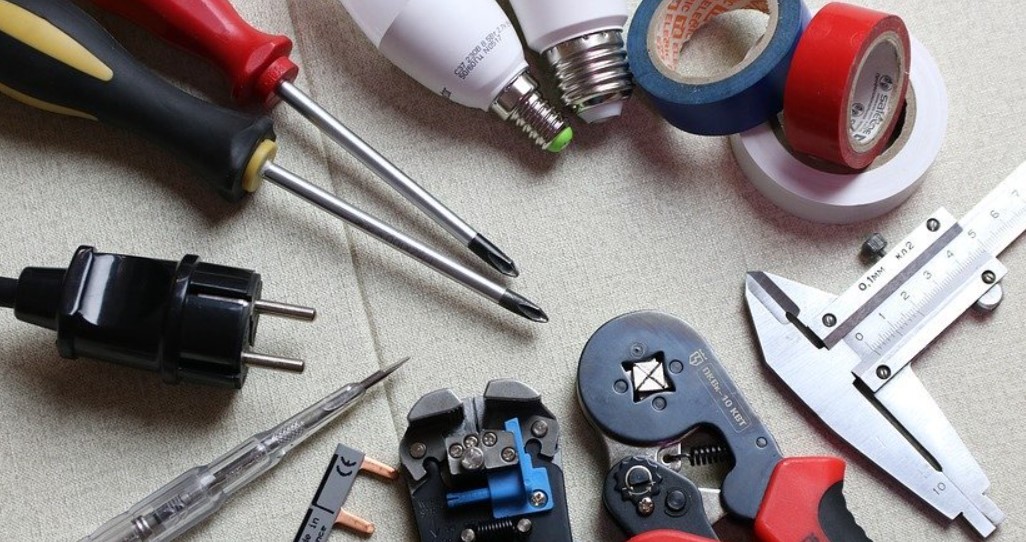
Loose or damaged wires can also cause malfunctions. Check the connections for any signs of wear or tear, and ensure they’re securely plugged in. If you find any damage, consult a qualified electrician for repairs.
While sensors are the eyes of your garage door, the wires are its nervous system. Loose or damaged connections can disrupt the flow of information, leading to malfunctions. But fear not, you can become a detective of frayed wires and ensure smooth communication! Here’s how:
- Grab your magnifying glass, detective! Examine the wires connected to the sensors for any signs of wear and tear. Look for fraying, cracks, or discoloration, the telltale signs of potential trouble.
- Follow the trail! Trace the wires from the sensors to the opener unit, checking for loose connections or plugs that might have come undone. Remember, a secure connection is like a firm handshake.
- Gently wiggle the plugs and connections. Do they feel secure, or do they wobble like a loose tooth? If anything feels loose, tighten it firmly but cautiously. Over-tightening can damage the delicate wires.
- If you find any damage, like exposed wires or broken connectors, don’t attempt repairs yourself. This is where your friendly neighborhood electrician comes in. Call them to assess the situation and perform any necessary repairs to ensure safe and proper operation.
Bonus Tips:
- Label the wires! Before disconnecting anything, use masking tape and a marker to label the wires for easy reassembly. This will save you time and frustration later.
- Take pictures! If you’re unsure about anything, take photos of the wiring before and after you make any adjustments. This can be helpful for your electrician if you need their assistance.
- Prevention is key! Regularly check your garage door wiring for signs of wear and tear. Routine maintenance can prevent small issues from turning into major headaches.
You may also like: Steel vs Aluminum Garage Doors
Step 5: Replace the Batteries (If Applicable)

Some sensors use batteries to power the infrared beam. If your sensor has batteries, check if they’re weak or dead and replace them with fresh ones. Make sure you use the correct type and voltage of batteries for your specific sensor.
Not all sensors are created equal! While some rely on mains power, others, like guardian knights fueled by internal batteries, use their miniature energy source to send the infrared beam on their mission. For these battery-powered warriors, a dip in performance might simply point to a case of the “dying battery blues.” Here’s how to revive them:
- Unmask the secret power source: Locate the battery compartment, usually a hidden panel on the sensor itself. Consult your manual for specific instructions.
- Unscrew and open the panel carefully, like unearthing a buried treasure. Remember, gentle hands are key.
- Inspect the batteries. Are they rusty, corroded, or visibly swollen? These are signs of weary warriors ready for retirement. If unsure, a trusty voltage tester can reveal their true strength.
- If the batteries are weak or dead, it’s time for a change of guard. Use the information on the sensor or in the manual to choose the correct type and voltage of batteries. Don’t mix and match like mismatched socks, as this can damage the sensor.
- Insert the fresh batteries with the correct polarity, positive to positive and negative to negative. Think of it as matching their little energy shields properly.
- Close the battery compartment securely, ensuring a good seal to keep the new power source protected.
- Test the door again. Does it close smoothly and completely? If so, you’ve successfully recharged your sensor’s power and restored its watchful gaze!
Bonus Tip:
- Regular battery checks are essential, especially during cold weather. Mark your calendar for a bi-annual battery check-up to keep your sensor lights fueled and your garage door operating safely.
You may also like: How To Calculate The Optimal Garage Size
Here’s why fixing your garage door sensor is essential
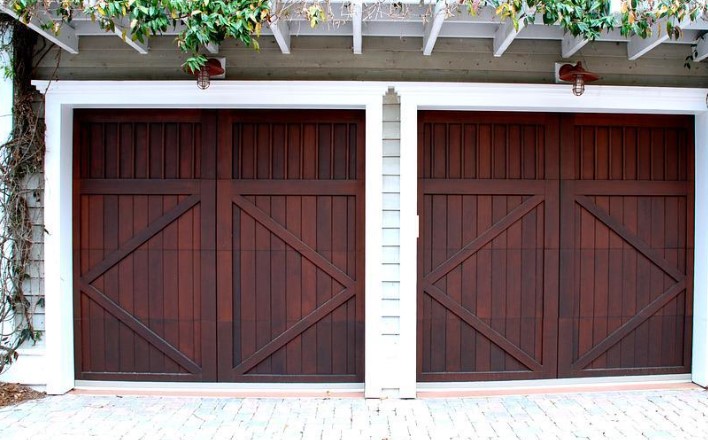
Think of your garage door as a giant metal shield protecting your car, belongings, and even family. But like any shield, it needs functioning sensors to stay strong. Faulty sensors are like rusted rivets – weak points waiting to fail. Here’s why keeping them in top shape is crucial:
Safety First
Imagine your child playing under the door as it starts to close. Without sensors, that playful scene quickly turns terrifying. Fixing them is like putting on a helmet – a simple precaution that could prevent a world of pain.
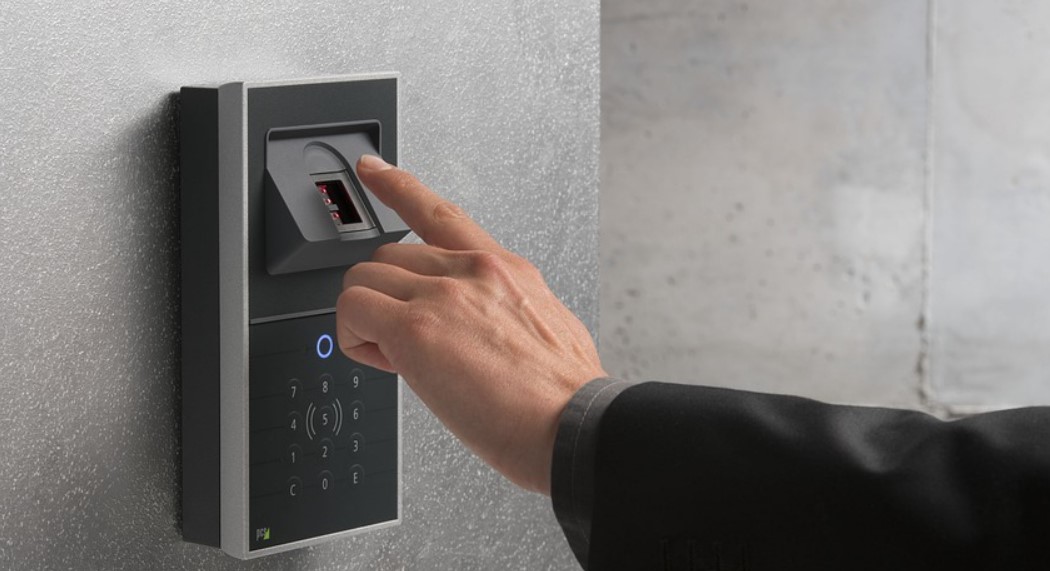
Fortress Garage
A broken sensor is an open invitation for trouble. Burglars, pests, and even the elements can exploit a partially open door. Keeping those sensors sharp is like securing the locks on your castle – safeguarding your valuables and peace of mind.
Save Money, Save Headaches
Ignoring a minor sensor glitch is like letting a small crack in your wall grow into a gaping hole. It might start with a door struggling to close, but eventually, it could strain the entire system, leading to costly repairs. Fix it early, save money, and avoid the frustration of a malfunctioning garage door.
Smooth Sailing, Every Day
A perfectly functioning sensor is like a silent guardian, ensuring your garage door operates flawlessly. No more wrestling with a stubborn door or worrying about it being left ajar. Walk out confidently, knowing your car and belongings are safe until your return.