
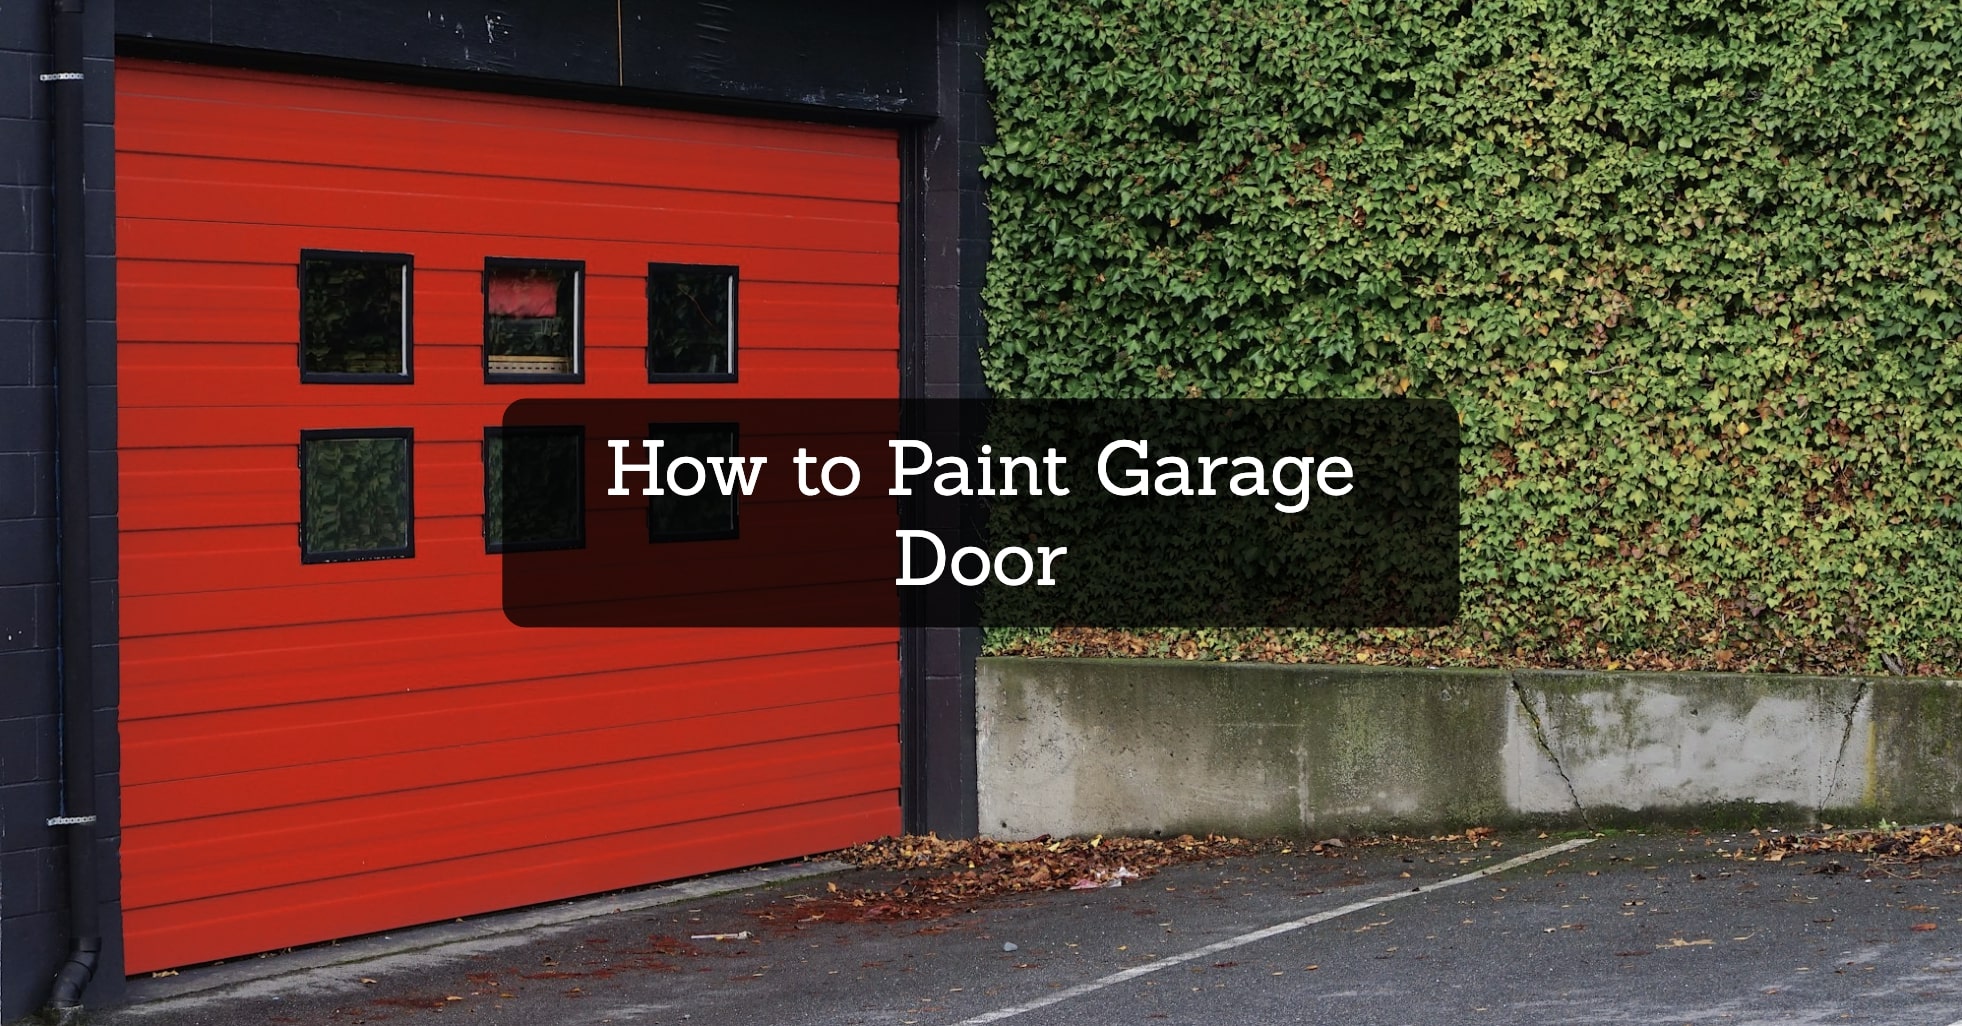
Your garage door – the stalwart sentry of your curb appeal, bearing the brunt of sun, rain, and countless open-sesame moments. But beneath the wear and tear lurks the potential for a vibrant transformation. So ditch the drab and grab the paintbrush, for this DIY guide will empower you to give your garage door a facelift that’ll leave your neighbors swooning.
For improved energy efficiency after painting, consider checking out this article on the best garage door insulation kits.
A Metal Garage Door Makeover Guide
Your metal garage door might be the most overlooked canvas on your property. Yet, it stands as a sentinel, opening and closing to the rhythm of your day. Why not give it a facelift, boosting its curb appeal and extending its lifespan? Painting your metal garage door is a surprisingly satisfying DIY project, adding a pop of personality and a shield against the elements.

You may also like: 7 Best Metal Look Paint for Garage
Prepping the Stage:
- Weather Watch: Choose a day with mild temperatures (50-80°F) and low humidity. Direct sunlight is a foe, so plan for shade or cooler mornings/evenings.
- Declutter and Detach: Remove cobwebs, dirt, and loose hardware. If existing paint is peeling, scrape it gently with a putty knife.
Sanding Away the Rough Edges:
- Use medium-grit sandpaper to create a smooth surface for the paint to grip. Wipe away dust with a damp rag.
- Don’t forget the nooks and crannies! Your paintbrush will thank you later.
Cleaning Up Your Act:
- Mix a TSP solution and scrub the door, banishing grime and grease. Rinse thoroughly and let it dry completely.
Priming for Perfection:
- Apply a thin coat of metal primer using a paintbrush. Focus on edges and hardware, then use a roller for the flat panels. Let it dry completely, then consider a second coat for extra protection.

The Grand Act: Painting with Panache:
- Stir your high-quality exterior paint for metal like a seasoned chef. Pour some into a tray and grab your tools.
- For a crisp finish, use a brush to “cut in” around the edges and hardware. Then, like a maestro wielding a roller, glide across the flat panels, applying thin, even coats. Patience is key – let each coat dry before adding the next layer.
The Final Curtain Call:
- Once the final coat dries, peel off the painter’s tape and admire your handiwork. Wash your brushes and rollers, feeling the satisfaction of a job well done.
Bonus Tips for a Standing Ovation:
- Don’t overwork the paint – brushstrokes can become streaks.
- Two coats are usually enough, but add more if needed.
- Let the paint dry completely before opening the garage door.
Painting your metal garage door is a journey of rejuvenation. With careful preparation, a dash of color, and a sprinkle of patience, you can transform a utilitarian portal into a vibrant element of your home’s personality, all while extending its lifespan and protecting it from the elements. So, grab your brush, channel your inner artist, and give your garage door the makeover it deserves!
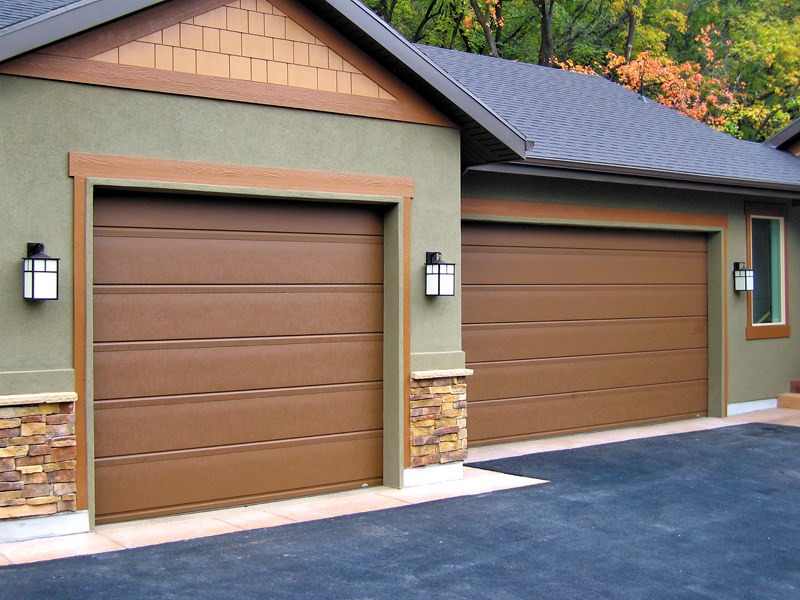
A Wood Garage Door Makeover Guide
Gather your troops – the tools that will lead you to victory. You’ll need cleaning supplies like sugar soap and a trusty brush, sandpaper of varying grit, protective gear like dust masks and goggles, and trusty allies like painter’s tape and drop cloths. Don’t forget the wood putty and a putty knife to patch any battle scars, and of course, the stars of the show – primer and exterior paint. Choose a color that complements your home’s aesthetic and makes your neighbors green with envy!
Step 1: Cleanliness is Next to Godliness
First things first, banish the grime! Scrub away dirt, cobwebs, and any lurking stains with sugar soap and a stiff brush. Rinse thoroughly and let the door bask in the sun’s warmth, drying completely before the next step. Remember, a clean canvas is key to a masterpiece.

You may also like: 7 Best Wood Look Paint for Garage Doors
Step 2: Smooth Away the Imperfections
Now, it’s time to tackle the rough spots. Armed with your trusty sandpaper, gently sand the surface, starting with medium grit and graduating to finer grit for a baby-smooth finish. Don’t forget those nooks and crannies – no imperfection shall escape your discerning eye!
Step 3: Patch Up the Wounds of Time
Time may have left its mark, but you can heal the scars! Fill any holes, cracks, or gaps with wood putty, smoothing it like a sculptor crafting his masterpiece. Let it dry completely, then sand it down to a seamless blend. Your door will be stronger and ready for its painty transformation.
Step 4: Dress Your Door in Its Primer Armor
Primer, the unsung hero of paint jobs. Apply a thin, even coat like a knight donning his chainmail. Choose a primer suited for exterior wood, and watch as it creates the perfect base for your paint to sing. Remember, let it dry completely before the main event.
Step 5: The Grand Finale – Painting with Panache
Now, for the moment you’ve been waiting for! Dip your brush or roller in the glorious paint, and with deliberate strokes, bring your chosen color to life. Work in sections, applying thin, even coats. Remember, two or three thin coats are better than thick one to avoid drips and ensure a smooth finish. Don’t forget to give each coat ample drying time before adding the next layer.
Step 6: Revel in Your Masterpiece and Touch Up Any Imperfections
Carefully peel off the painter’s tape, like unveiling a hidden treasure. Touch up any minor imperfections with a steady hand and your trusty brush. Step back and admire your handiwork! You’ve breathed new life into your garage door, transforming it from weary warrior to a vibrant ambassador of your home.
Bonus Tips for Flawless Victory:
- Weather matters: Choose a dry, mild-day for your painting adventure.
- Clean-up is key: Wash your brushes and rollers after each coat – they’ll thank you for it!
- Leftovers don’t rot: Store leftover paint in a cool, dry place for future touch-ups.
With this guide as your compass, you’ll conquer the quest for a stunningly painted garage door. So, unleash your inner artist, embrace the power of paint, and watch your once-weary door rise like a phoenix, ready to grace your driveway for years to come!
Unveiling the Magic of a White Garage Door Makeover
A splash of pristine white can do wonders for your home’s exterior. Transforming your garage door from weathered to gleaming isn’t just about curb appeal; it’s an investment in protection and a chance to inject some personality into your home’s facade. But before you grab the brush, let’s delve into the specifics of painting your garage door white, ensuring a smooth and lasting journey from drab to fab.

Prep Like a Pro:
- Gather your arsenal: Stock up on exterior-grade white paint specifically formulated for the elements. Primer (crucial for darker doors) and a durable finish should be on your list. Painter’s tape, drop cloths, a dedicated paint brush, a roller and extension pole, sandpaper, a putty knife, and a gentle cleaning solution complete the kit.
- Scrub-a-dub-dub: Grime has no place on your canvas. Use a mild detergent and a scrub brush to banish dirt, cobwebs, and any lingering road dust. Rinse thoroughly and let the door dry completely.
- Flawlessness in the details: Fill cracks, dents, and chips with exterior-grade spackle or caulk. Let it dry and sand smooth, creating a blank slate for your masterpiece.
- Hardware heroes: Don your painter’s tape cape and mask any hardware you don’t want painted, like hinges, handles, and even that pesky garage door opener sensor.
- Drop cloth fortress: Protect your driveway and sidewalk with drop cloths, creating a paint-free haven for the surrounding area.

Prime Time:
- Lay the foundation: Using your trusty paint brush, apply a thin, even coat of primer to the entire door. Let it dry completely, then give it another coat if needed. This ensures your white shines bright and the paint adheres like a dream.
Painting Perfection:
- The art of the edge: Grab your brush and channel your inner Michelangelo. Paint the edges and around the hardware with precision, creating a crisp and polished look.
- Roll with it: For the expansive regions of your door, a roller (and your trusty extension pole) are your new best friends. Apply thin, even coats, rolling in one direction to avoid streaks. Remember, patience is key; 2-3 coats might be necessary, especially for previously painted doors.
- Touch-up time: Once the final coat dries, peel off the painter’s tape like a triumphant hero. Carefully touch up any minor imperfections with your brush, leaving your door flawless and ready to shine.

Pro Tips for a Flawless Finish:
- Section savvy: Don’t try to conquer the whole door at once. Divide it into sections and tackle them one by one, minimizing drips and unevenness.
- Tool TLC: Rinse your brush and roller after each use to keep the paint flowing smoothly and avoid build-up.
- Step back and assess: Take a break and admire your handiwork after each coat. It’s easier to fix any slip-ups before the paint dries completely.
Maintaining Your White Haven:
To keep your white door perpetually gleaming, regular cleaning is essential. A mild detergent and water work wonders. Avoid harsh chemicals and abrasive scrubbers, as they can damage the paint. Touch up any minor chips or scratches promptly to prevent rust and further damage.

You may also like: 7 Best Garage Door Window Insert Kits
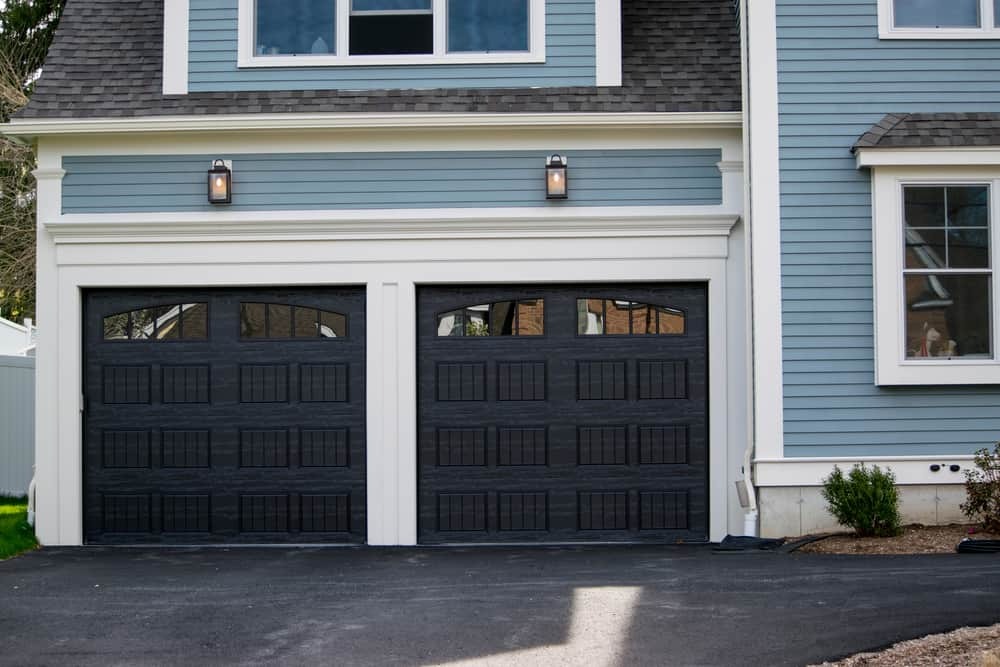
Unleashing the Black Beauty of Your Garage Door
Black garage doors – sleek, sophisticated, and instantly eye-catching. They ooze modern elegance and add a touch of drama to any home. But before you dive headfirst into a can of midnight, a little prep work is key to transform your garage door from drab to fab.

Prepare the Stage:
- Gather your cast of characters: You’ll need exterior-grade paint (satin or semi-gloss for easy cleaning), a trusty primer, painter’s tape, drop cloths, brushes, rollers, sandpaper, a putty knife, and maybe even a sturdy ladder. Consider a sprayer for larger doors, it’ll be your own paint-wielding hero!
- Scrub-a-dub-dub: Grab your sponge and soapy water, it’s time to give your door a spa day. Remove all dirt, grime, and cobwebs, then rinse thoroughly and let it dry completely.
- Mask the heroes (and villains): Use painter’s tape like a superhero’s shield to protect anything you don’t want painted – the door opener, hinges, and trim are all grateful for this protection.
- Smooth operator: Fill any cracks or holes with putty like a skilled sculptor. Once dry, sand them smooth – imperfections have no place in your masterpiece.
- Prime time: Apply a coat of primer suited to your garage door’s material (wood, metal, etc.). This acts like a paint-loving double-sided tape, ensuring a perfect finish.

Painting with Panache:
- Divide and conquer: Think of your door as a canvas, divided into manageable sections. Panels, horizontal sections – whatever works for you. This makes applying paint smoother and avoids tears (of both the paint and emotional kind).
- Edge lords and corner masters: Use your trusty brush to paint those tricky edges and corners like a skilled swordsman. Then, unleash the roller’s power to fill in the larger areas with smooth, even strokes. Overlap slightly like puzzle pieces coming together.
- Layering like a pro: For a finish worthy of an art gallery, apply two or three thin coats of paint. Patience is key! Let each coat dry completely before adding the next one – rushing leads to messy puddles, not masterpieces.
Black Magic Tips:
- Unmasking the masterpiece: Wait until the paint is completely dry before removing the tape. Peel slowly at a low angle – like pulling off a delicate bandage, not ripping a curtain.
- Accessorize with attitude: Black hardware like handles and hinges add a touch of edge. Or, go for contrasting accents like silver or gold – think black dress, statement necklace.
- Light up the drama: Illuminate your newly transformed door with exterior sconces or spotlights. It’s like putting your art gallery on display after dark.
Remember, painting your garage door is a DIY adventure, not a marathon. With a little planning, the right tools, and a dash of creativity, you can transform it from a utilitarian eyesore to a stunning focal point that adds instant curb appeal and value to your home. So grab your paintbrush, channel your inner artist, and unleash the black beauty that’s been waiting to shine!
No-Removal Garage Door Makeover Guide
Your garage door, the stoic sentinel of your driveway, deserves a makeover. But who wants the hassle of disassembling and wrestling with a heavy panel? This guide unlocks the secrets of painting your garage door without the removal drama.
Gear Up for Success:
- Armory of Paint: Choose exterior-grade latex paint in your desired color. Opt for a satin finish for a touch of elegance and grime resistance.
- Primer Power: If your door’s a bare canvas, grab a primer formulated for your door’s material (wood, metal, etc.).
- Precision Tools: An angled brush for corners and crevices, a roller for vast expanses, and a sturdy ladder to reach the peak.
- Defense Line: Painter’s tape to shield neighboring areas, drop cloths to catch rogue drips, and sandpaper (if your door’s a glossy veteran).
- Safety Squad: Gloves, goggles, and a mask to keep you paint-free and protected.
How to Clean Your Garage Door
A clean garage door isn’t just about aesthetics; it also prevents dirt and grime from damaging its mechanisms, extending its lifespan and ensuring smooth operation.
So, ditch the grime and grab your cleaning gear! This comprehensive guide will equip you to transform your garage door from dusty to dazzling.

Safety First!
Before diving in, remember:
- Park your car outside and disconnect the garage door opener. We wouldn’t want any accidental activations during the cleaning process.
- Gather your cleaning squad:
- Gentle soap: Dish soap or car wash soap are perfect; harsh chemicals are a big no-no!
- Two buckets: One for soapy water, the other for rinsing.
- Soft sponges or microfiber cloths: Avoid anything abrasive that could scratch the paint.
- Garden hose with an optional nozzle: Gentle spraying is your friend.
- Ladder (if needed): For reaching those top panels.
- Broom: Sweeps away loose dirt and cobwebs.
Step 1: Prep the Battleground
- Sweep away the dust: Give your door a good brushing with the broom, paying special attention to corners and crevices. This removes loose dirt and cobwebs, making the actual cleaning easier.
- Pre-rinse the door: Grab your trusty hose and gently spray the entire surface with a wide spray setting. This loosens dirt and grime, making them easier to tackle in the next step.

Step 2: The Sudsy Showdown
- Mix your cleaning solution: Fill one bucket with warm water and add about 1 cup of soap. Remember, less is more when it comes to soap!
- Dip, dunk, and scrub: Submerge your sponge or cloth in the sudsy water and start scrubbing one panel at a time. Use circular motions and gentle pressure to avoid scratching the paint.
- Rinse and repeat: Dunk your cleaning tool frequently in the clean water bucket to remove dirt and soap residue. Rinse the entire door section by section.
Step 3: Taming Tough Stains
- Spot-treat stubborn grime: For grease stains or other persistent marks, use a mild stain remover or a baking soda paste (mix baking soda with a little water to form a paste). Apply directly to the stain and scrub gently with a soft brush. Rinse thoroughly afterwards.
- Don’t forget the hardware: Use a damp cloth to wipe clean track rollers, hinges, and handles. Apply a little silicone lubricant to keep them moving smoothly.

Step 4: The Grand Finale
- Final rinse: Give the entire door a thorough rinse with your hose to remove all soap residue.
- Pat it dry: Use clean, dry microfiber cloths to absorb excess water and prevent water spots.
Bonus Round: Shine On!
- Give your door a protective boost: Once completely dry, consider applying a protective wax or sealant to preserve the paint and keep it looking vibrant. Choose a product specifically designed for garage doors.
Pro Tips for Sparkling Success:
- Work in sections: Divide the door into manageable sections and clean them one panel at a time. This prevents soap from drying on the surface before you rinse it.
- Beware of the sun: Avoid cleaning in direct sunlight, as the heat can cause the soap to dry too quickly and leave streaks.
- Skip the pressure washer: Its powerful spray can damage the paint and loosen seals. Stick to the gentle touch of your hose.
- Annual check-ups: Make cleaning your garage door a yearly ritual. Regular maintenance will keep it looking its best and functioning flawlessly.

With these steps and a little elbow grease, you’ll be well on your way to a sparkling garage door that adds curb appeal and protects your belongings. Remember, a clean garage door is a happy garage door, and a happy garage door reflects well on your entire home. So grab your supplies, put on your cleaning gloves, and get ready to give your garage door the spa day it deserves!
Unveiling the Price Tag: A Guide to Garage Door Paint Costs
Before you grab that paintbrush, the question whispers: “How much will this garage door metamorphosis cost?”
This handy guide unveils the curtain on the factors that influence the cost of a garage door paint job, empowering you to plan your chromatic crusade with confidence.
Size Matters: Square Feet and Door Dimensions Dictate the Canvas
The most significant brushstroke in your budget is the size of your garage door. A single-car door requires less paint and labor compared to its double-car brethren. Think of it this way: a 100-square-foot single-car door could cost between $100 and $400, while a 160-square-foot double-car door might range from $160 to $640. Remember, these are estimates, and your actual price could swing depending on your specific door dimensions.

Material Musings: Wood, Metal, or Something In-Between?
The material your garage door wears proudly also plays a role. Wood doors, for example, often need extra prep work like sanding and sealing, which can increase labor costs. Metal doors, while generally easier to paint, might require specialized primers or paints, bumping up the material cost. If you have a unique door like fiberglass or composite, research specific paint recommendations and factor in any potential price variations.
Condition Counts: From Pristine to Peeling, Each State Holds a Secret
The current state of your garage door significantly impacts the cost. A door in tip-top shape might only need a gentle scrub and one coat of paint. However, a door with peeling paint, rust, or battle scars might necessitate extensive scraping, sanding, and repairs, adding hours (and dollars) to your project. Be honest about your door’s condition when budgeting and seeking quotes – transparency is key!

You may also like: Universal Garage Door Bottom Seal Reviews (Top 7 Goods)
Beyond the Basics: Unveiling the Hidden Cost Gremlins
While the core cost elements are covered, there are some sneaky extras to consider:
- Paint type: Premium or specialty paints will cost more than standard options.
- Coat count: Two coats are usually recommended, but additional coats might be necessary for heavily damaged doors or specific paint choices.
- Hardware heroes: Replacing old or rusty hinges or handles can add to the overall cost.
- Disposal demons: If you’re removing old paint or replacing hardware, disposal fees might apply.
With careful planning, budgeting, and a touch of color, your garage door can transform from a dusty eyesore to a vibrant showstopper without breaking the bank. So, grab your paintbrush, unleash your inner color maestro, and give your home’s entrance the dazzling makeover it deserves!