

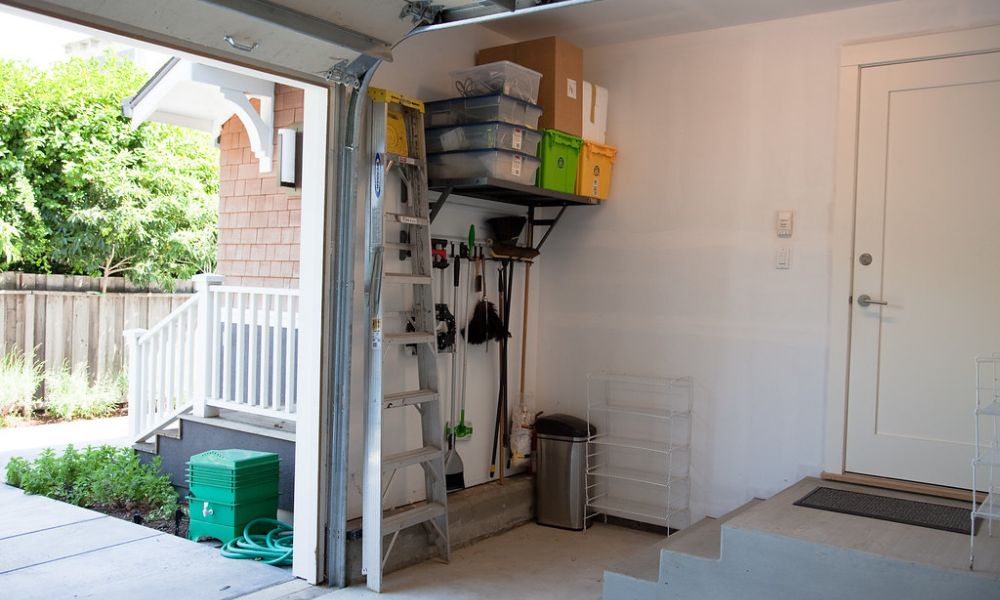
The garage: your haven for tinkering, fixing, and creating. But even the most dedicated gearhead can face a dreaded foe – oil spills.
Luckily, we’re here to tell you how to clean oil off the garage floor (all floor types). Whether it’s a fresh drip from your car or an old one from a past mishap, we’ll help you get rid of it.
We understand that concrete isn’t the same as vinyl, and rubber requires distinct other than epoxy. And that’s why we’ll delve into the details and give you tailored cleaning procedures to use. Let’s get into it!
Types Of Garage Oil Stains
Before diving in, identify your enemy. These come in various forms, each needing a tailored approach.
- Fresh Spills: These recently occurred oil puddles are easier to tackle as the oil hasn’t seeped deep.
- Set-in Stains: These are older spills that have had time to pierce the floor, and need more effort to clear.
- Motor Oil Stains: These appear from leaks and need stronger cleaning.
- Grease Stains: Often originating from cooking oil or machinery lubricants, these can be quite stubborn.
- Hydraulic Fluid Stains: Reddish or brownish stains from hydraulic systems might need specialized cleaning techniques.
Preparing for Cleaning
Before you engage in combat with oil stains, ensure your safety:
- Open the garage door and windows: Maintain proper ventilation to avoid inhaling harmful fumes.
- Wear gloves and safety glasses: Protect your skin and eyes from harsh chemicals.
- Use appropriate tools: Choose solutions based on the floor type and oil stain.
Check also: 7 Best Garage Brooms for All Floor Types
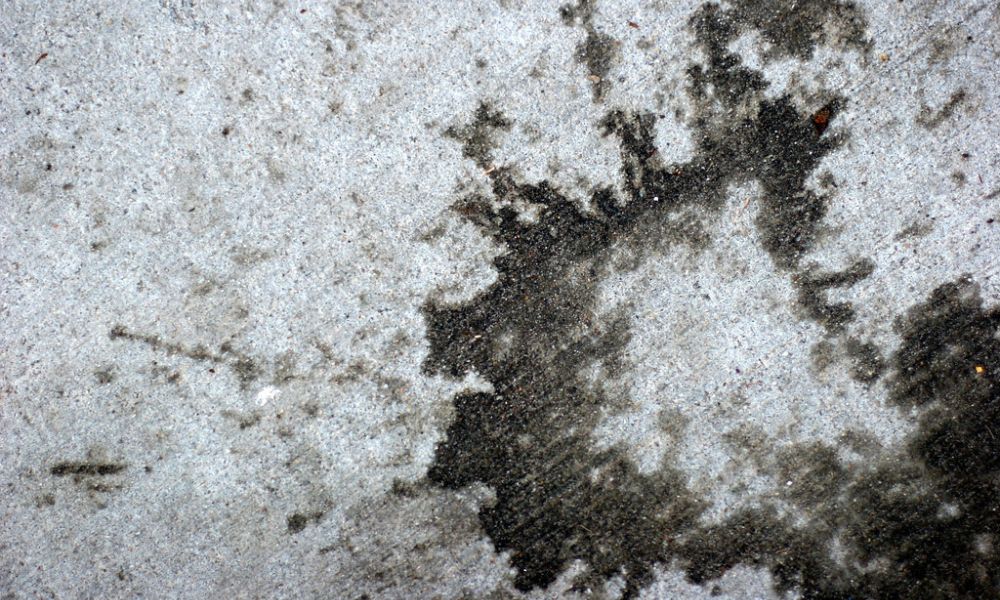
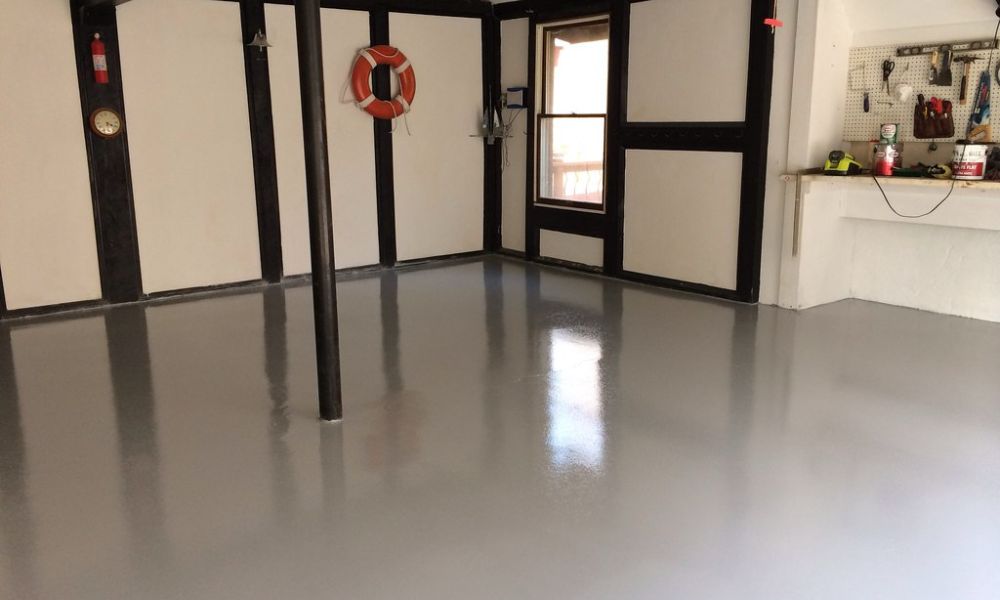
Concrete Flooring
This one boasts a porous surface. And while presenting the potential for deep stain penetration, also allows for greater flexibility in cleaning methods. So you can use harsher solutions and abrasives without fear of damaging the surface, making stain removal more effective.
Fresh Oil Spills:
- Act fast: Blot oily areas with cloth or paper.
- Mix a powerful solution: Powdered laundry detergent mixed with warm water makes a strong degreaser.
- Scrub and rinse: Cleanse vigorously with a stiff brush and warm water.
Set-in Oil Stains:
- The baking soda brigade: Battle greasy stains with baking soda! Just sprinkle generously and cover with a damp cloth. Leave it for a few hours, sponging up the oil.
- Scrub and rinse: Uncover the surface, sweep away the soda, and scrub with soapy water.
Motor Oil Stains:
- Heavy-duty reinforcements: Motor oil demands a stronger approach. Use a specific degreaser via instructions.
- Scrub and rinse: Clean with degreaser & brush, rinse. Recite as needed.
Beyond the Basics:
For particularly stubborn spills, try:
- Cat Litter: Similar to baking soda, cat litter effectively absorbs oil. Spread it, let it sit for a few hours, and then сдуфт it up. Avoid using scented litters, as they may leave their own residue.
- Pressure Washer: This heavy-duty option is best for large areas or deeply embedded stains. Use a degreaser solution specifically designed for pressure washers and follow safety precautions.
You may also like: 7 Best Garage Concrete Floor Cleaners
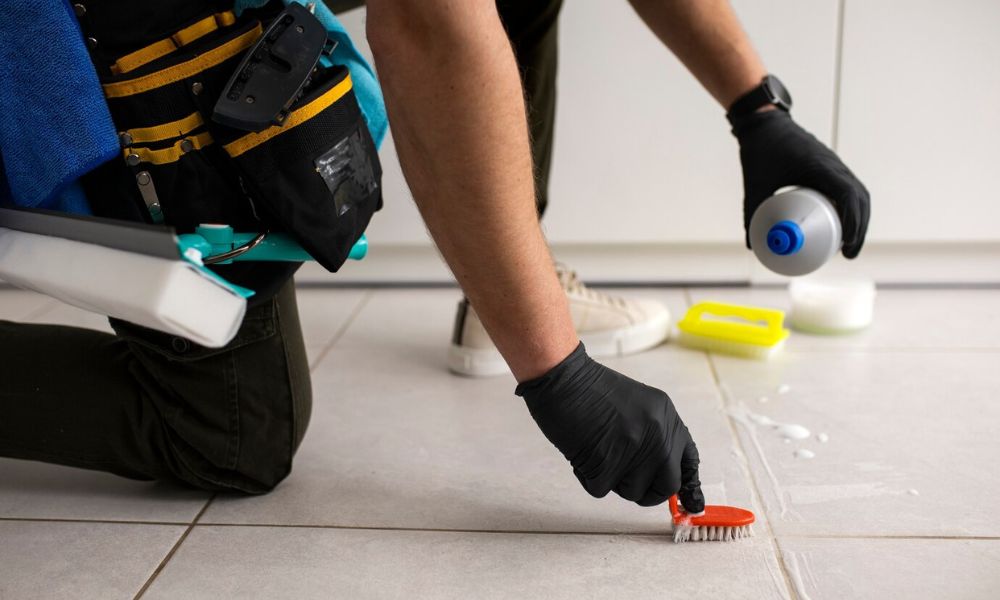
Tiles
Tile offers a distinct benefit when tackling oil spills: its non-porous nature. So this is good news for stopping deep stain penetration, and it makes the stains manageable. But it means the oil sits on top, requiring careful cleaning to avoid spreading. Plus, diverse tile types (ceramic, porcelain, etc.) have varying sensitivities to chemicals, so identifying your tile material is crucial.
Fresh Oil Stains:
- Blot, Don’t Rub: Gently blot with towels or clean cloths.
- Dish Soap: Blend it with warm water, dip a damp sponge, and gently scour it.
- Rinse: Do it again until the stain is gone.
- Dry: Pat dry with clean cloths to avoid water marks.
Set-in Oil Stains:
- Baking Soda: Coat it and leave it for 1-2 hours.
- Scrub: Remove it, then scrub with warm, soapy water. Do it again if needed.
- Degreaser: Tackle it with a heavy-duty tile degreaser, but check it’s safe for your tiles first!
Motor Oil Stains:
- Dish Soap and Vinegar Combo: Make a gentle oil-buster with equal portions soap and warm water and scrub it.
- Commercial Degreaser: Stubborn one? Try a strong engine degreaser, but read the instructions first! Be careful, these are tough chemicals.
- Patience and Persistence: Extracting these may need multiple sessions. Keep at it! Do it until it works.
Vinyl Flooring
Unlike porous materials, vinyl doesn’t allow oil to seep deeply, making stain removal quicker and easier. However, intense chemicals and abrasive cleaning can impair the vinyl’s finish. Therefore, using gentle yet effective solutions is key.
Fresh Oil Stains:
- Act Fast: Grab some handy paper towels or cloths and dab, don’t rub.
- Dish Soap: Gently cleanse it by mixing a mild soap solution in a bucket with warm water.
- Rinse: Rinse the spot till it works. You can use the paste again, too.
- Dry: Pat it dry.
Set-in Oil Stains:
- Baking Soda Power: Tough one? Try a baking soda paste: apply, let sit 15-20 min, scrub gently, rinse.
- Commercial Cleaner: If it isn’t enough, try a vinyl floor cleaner for oil stains. Pick one labeled for “oil removal” and follow the directions closely.
- Rinse: Do it over and over again till the spill fades.
Motor Oil Stains:
- Dish Soap and Vinegar: Dish soap + vinegar = oil buster! Mix equal parts of each in warm water. Scrub stain, and rinse well. Done!.
- Commercial Degreaser: Stubborn oil? Try a vinyl degreaser! Follow directions closely, these cleaners can be strong.
- Test First: Test the cleaner on a spot first, especially for colored/patterned floors.
Have a look at: 10 Best Pressure Washers for Car
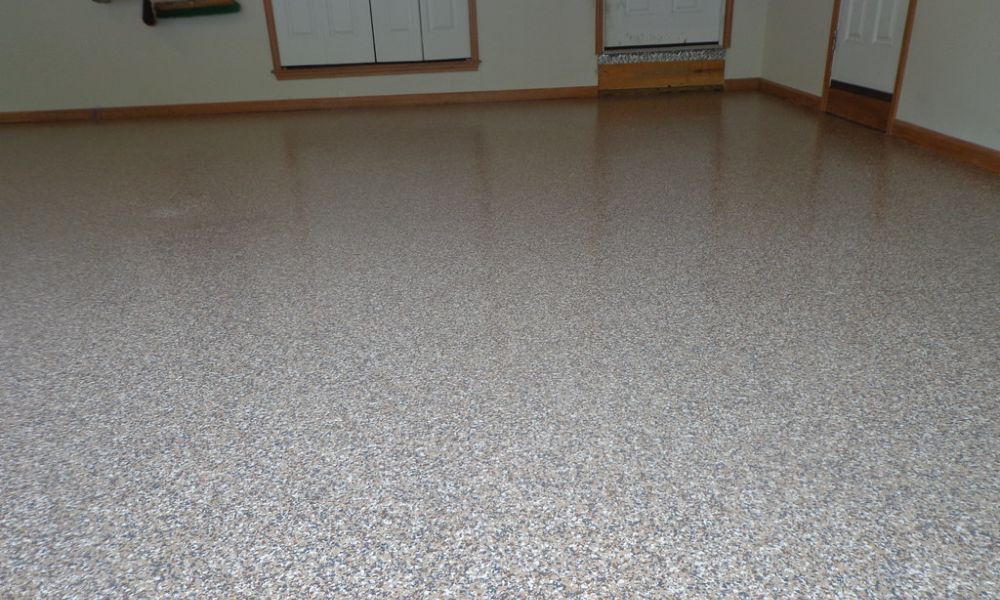
Epoxy Flooring
So what makes epoxy special? Its non-porous, smooth surface creates a barrier against stains, making them easier to tackle. However, intense chemicals and abrasive techniques can damage the coating. Therefore, choosing gentle yet effective solutions is crucial.
Fresh Oil Stains:
- Absorb: Blot up oil with paper, cloths, or even cat litter (don’t rub – it spreads!).
- Dish Soap Degreases: Dip a sponge with soapy water and scrub the stain.
- Rinse: Remove it with water.
- Dry: Use clean cloths to dry the area, preventing water marks and moisture buildup.
Set-in Oil Stains:
- Baking Soda Brigade: Mix soda and water into a dense paste and leave it for 15-20 mins.
- Scrub: Buff it with a soft brush/cloth to lift the stain.
- Rinse: Give it a good rinse. If it persists, try the soda paste again.
- Commercial Degreaser Option: If DIY tactics fail, try a commercial degreaser made for epoxy floors.
Motor Oil Stains:
- Dish Soap & Ammonia Combo: Mix matching parts of dish soap and ammonia (wear gloves and open windows!). Test on a hidden spot first. If it’s okay, apply gently, scrub, and rinse well. Remember: never mix it with bleach!
- Citrus Degreaser: Such degreasers offer a gentler alternative for motor oil stains. Just use the instructions.
- Repeat: Be patient, keep at it, and it will gradually fade away!
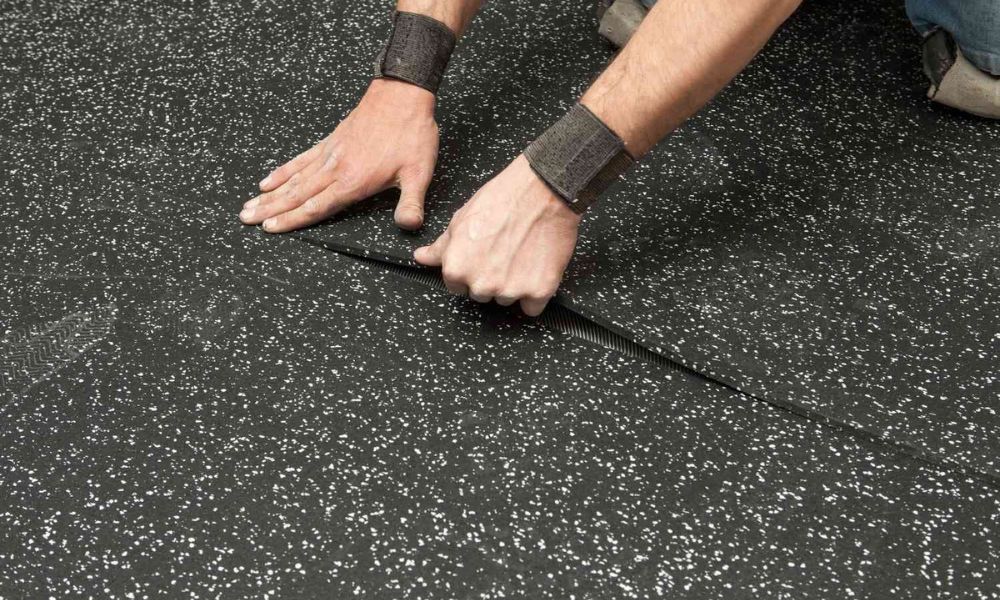
Rubber Flooring
The good news is that rubber doesn’t readily absorb oil, making stain removal easier. Also, its flexibility allows for scrubbing without fear of damage. However, its textured surface requires specific cleaning techniques to avoid trapping dirt and grime. So you should pick gentle yet effective methods to avoid damaging the rubber’s texture or causing discoloration.
Fresh Oil Stains:
- Blot Away: Press paper towels or a clean cloth onto the oil to lift it, don’t rub!
- Soap to the Rescue: Make warm suds with soap, use a sponge with it.
- Rinse: Flush with clean water until all soap and oil are gone.
- Dry: Wipe it fully with clean cloths, no watermarks, no dirt!
Set-in Oil Stains:
- Baking Soda Brigade: Mix soda with water and leave it for 5-20 mins.
- Vinegar’s Power: Whip up a 50/50 mix of vinegar and water in your trusty spray bottle. Give the spot a good spritz, and let it chill for 5 mins.
- Scrub Gently: Softly scrub it until it’s gone.
- Rinse: Give it a good rinse. Reapply if needed.
Motor Oil Stains:
- Dish Soap & Vinegar Power: Mix matching portions of soap and vinegar in a spray bottle. Test on a hidden spot. If OK, spray stain, wait 5 mins, scrub, and rinse!
- Turpentine: Due to its toxicity and potential to damage the rubber, use turpentine only as a last resort. Wear gloves, ventilate well, and follow these steps with extreme caution: pour up to 3 teaspoons on a clean cloth, blot the stain, and avoid excessive use. Rinse with soap and water afterward.
You may also check: Polyaspartic Coatings for Garage Floors (Pros & Cons)
How To Prevent Oil Spills In Your Garage?
Park It Right:
- Parking Zone: Create a dedicated area for oil changes and maintenance, away from other vehicles and flammable materials.
- Cardboard: Place cardboard under your auto during oil changes to capture any spills. Dispose of the used cardboard responsibly.
Preparation is Key:
- Organize Your Arsenal: Store oil containers securely on shelves or cabinets, away from high-traffic zones and potential bumps. Use drip pans beneath leaky cars for early detection.
- Embrace Containment: Invest in absorbent mats specifically designed to catch minor spills and drips.
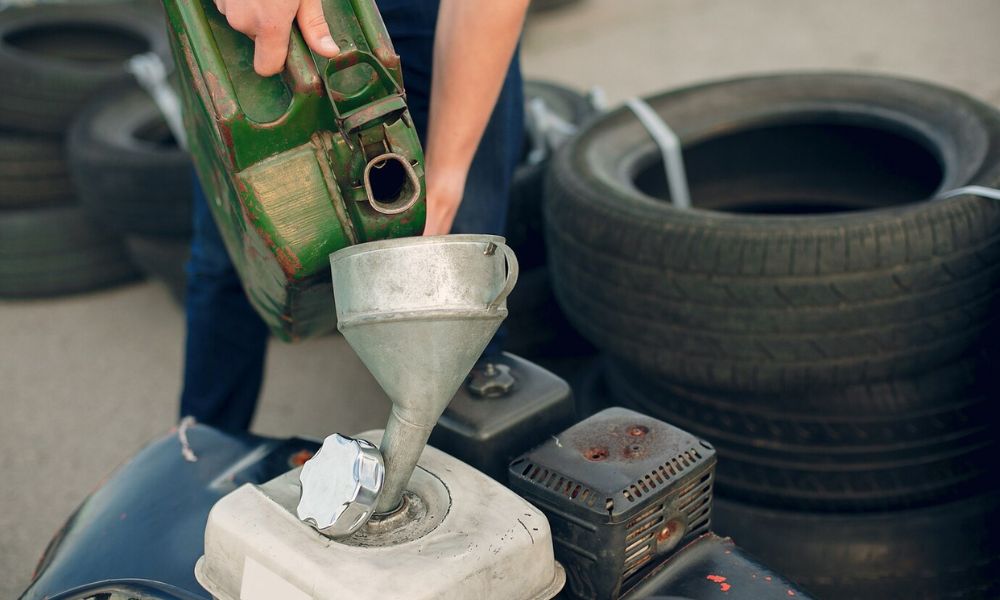
- Funnel Power: When changing oil, utilize a funnel with a wide mouth to minimize spillage. Consider attaching an extension hose for those hard-to-reach spots.
Maintenance Matters:
- Checkups: Regularly inspect your vehicle for leaks, paying close attention to the engine, oil pan, and hoses. Early detection and repair can save you a major spill and headache.
- Cleanliness Counts: Regularly cleanse your garage floor to dismiss accumulated debris that can mix with oil.
- Proper Disposal: Don’t dump used oil down the drain! Dispose of it responsibly at designated recycling centers or oil change facilities.
FAQ
Can Oil Stains Be Completely Removed?
It depends! Fresh ones are much easier to tackle than dried ones. The type of oil and the floor material also play a role. Some absorb it deeply, making complete removal difficult. In general, with the right methods and products, most oil stains can be significantly reduced, if not completely gone.
How Long Does Oil Stain Take To Dry?
Different oils dry at different rates. Vegetable ones dry faster than mineral ones, usually within 24-48 hours. However, this doesn’t mean the stain is gone; it just means the oil itself has solidified.
Can Dried Oil Stains Be Removed?
Yes, it’s possible, but it might require more effort. Dried oil has penetrated deeper, so patience and the right cleaning approach are key. Some methods involve breaking it down with solvents or absorbing materials before lifting it from the surface.
What Absorbs Oil Stains?
Several household items can act as absorbers. Things like soda, cornstarch, and kitty litter are popular ones. They soak up the grease, raising it from the surface. Commercial absorbing pads are also effective.
Can Lemon Remove Oil Stains?
Lemon juice might slightly lighten some fresh spots on fabrics, but its effectiveness is limited. It’s not recommended for all materials and might even set certain stains. Test on an inconspicuous area first.
Does Oil Stain Evaporate?
Over time, some components might evaporate, but complete evaporation is unlikely. Most oils leave residues that require cleaning for removal.
What Happens If Oil Stain Gets Wet?
Water won’t magically extract it, but it can spread it or cause it to penetrate deeper into some materials. It’s best to address spots before getting them wet.
How Toxic Is Oil Stain?
The toxicity depends on the oil. Vegetable ones pose minimal risk. Yet, mineral and motor ones can be harmful if ingested or inhaled in large amounts. Always handle such stains with caution, especially if unsure about the type.
How Long Is Oil-Based Stain Toxic?
Once dry, most oil-based stains lose their immediate toxicity. However, some volatile organic compounds (VOCs) may still be present and pose health risks with prolonged exposure. It’s crucial to ensure proper ventilation when using or removing such products.
Are Oil Stains Flammable?
Yes, especially motor oil or paint thinner. Avoid exposing them to heat or open flames while cleaning. Always ensure proper disposal of oil-soaked materials according to local regulations.